You can enable/disable right clicking from Theme Options and customize this message too.

Custom made clock with flexible live hinges

Project Description

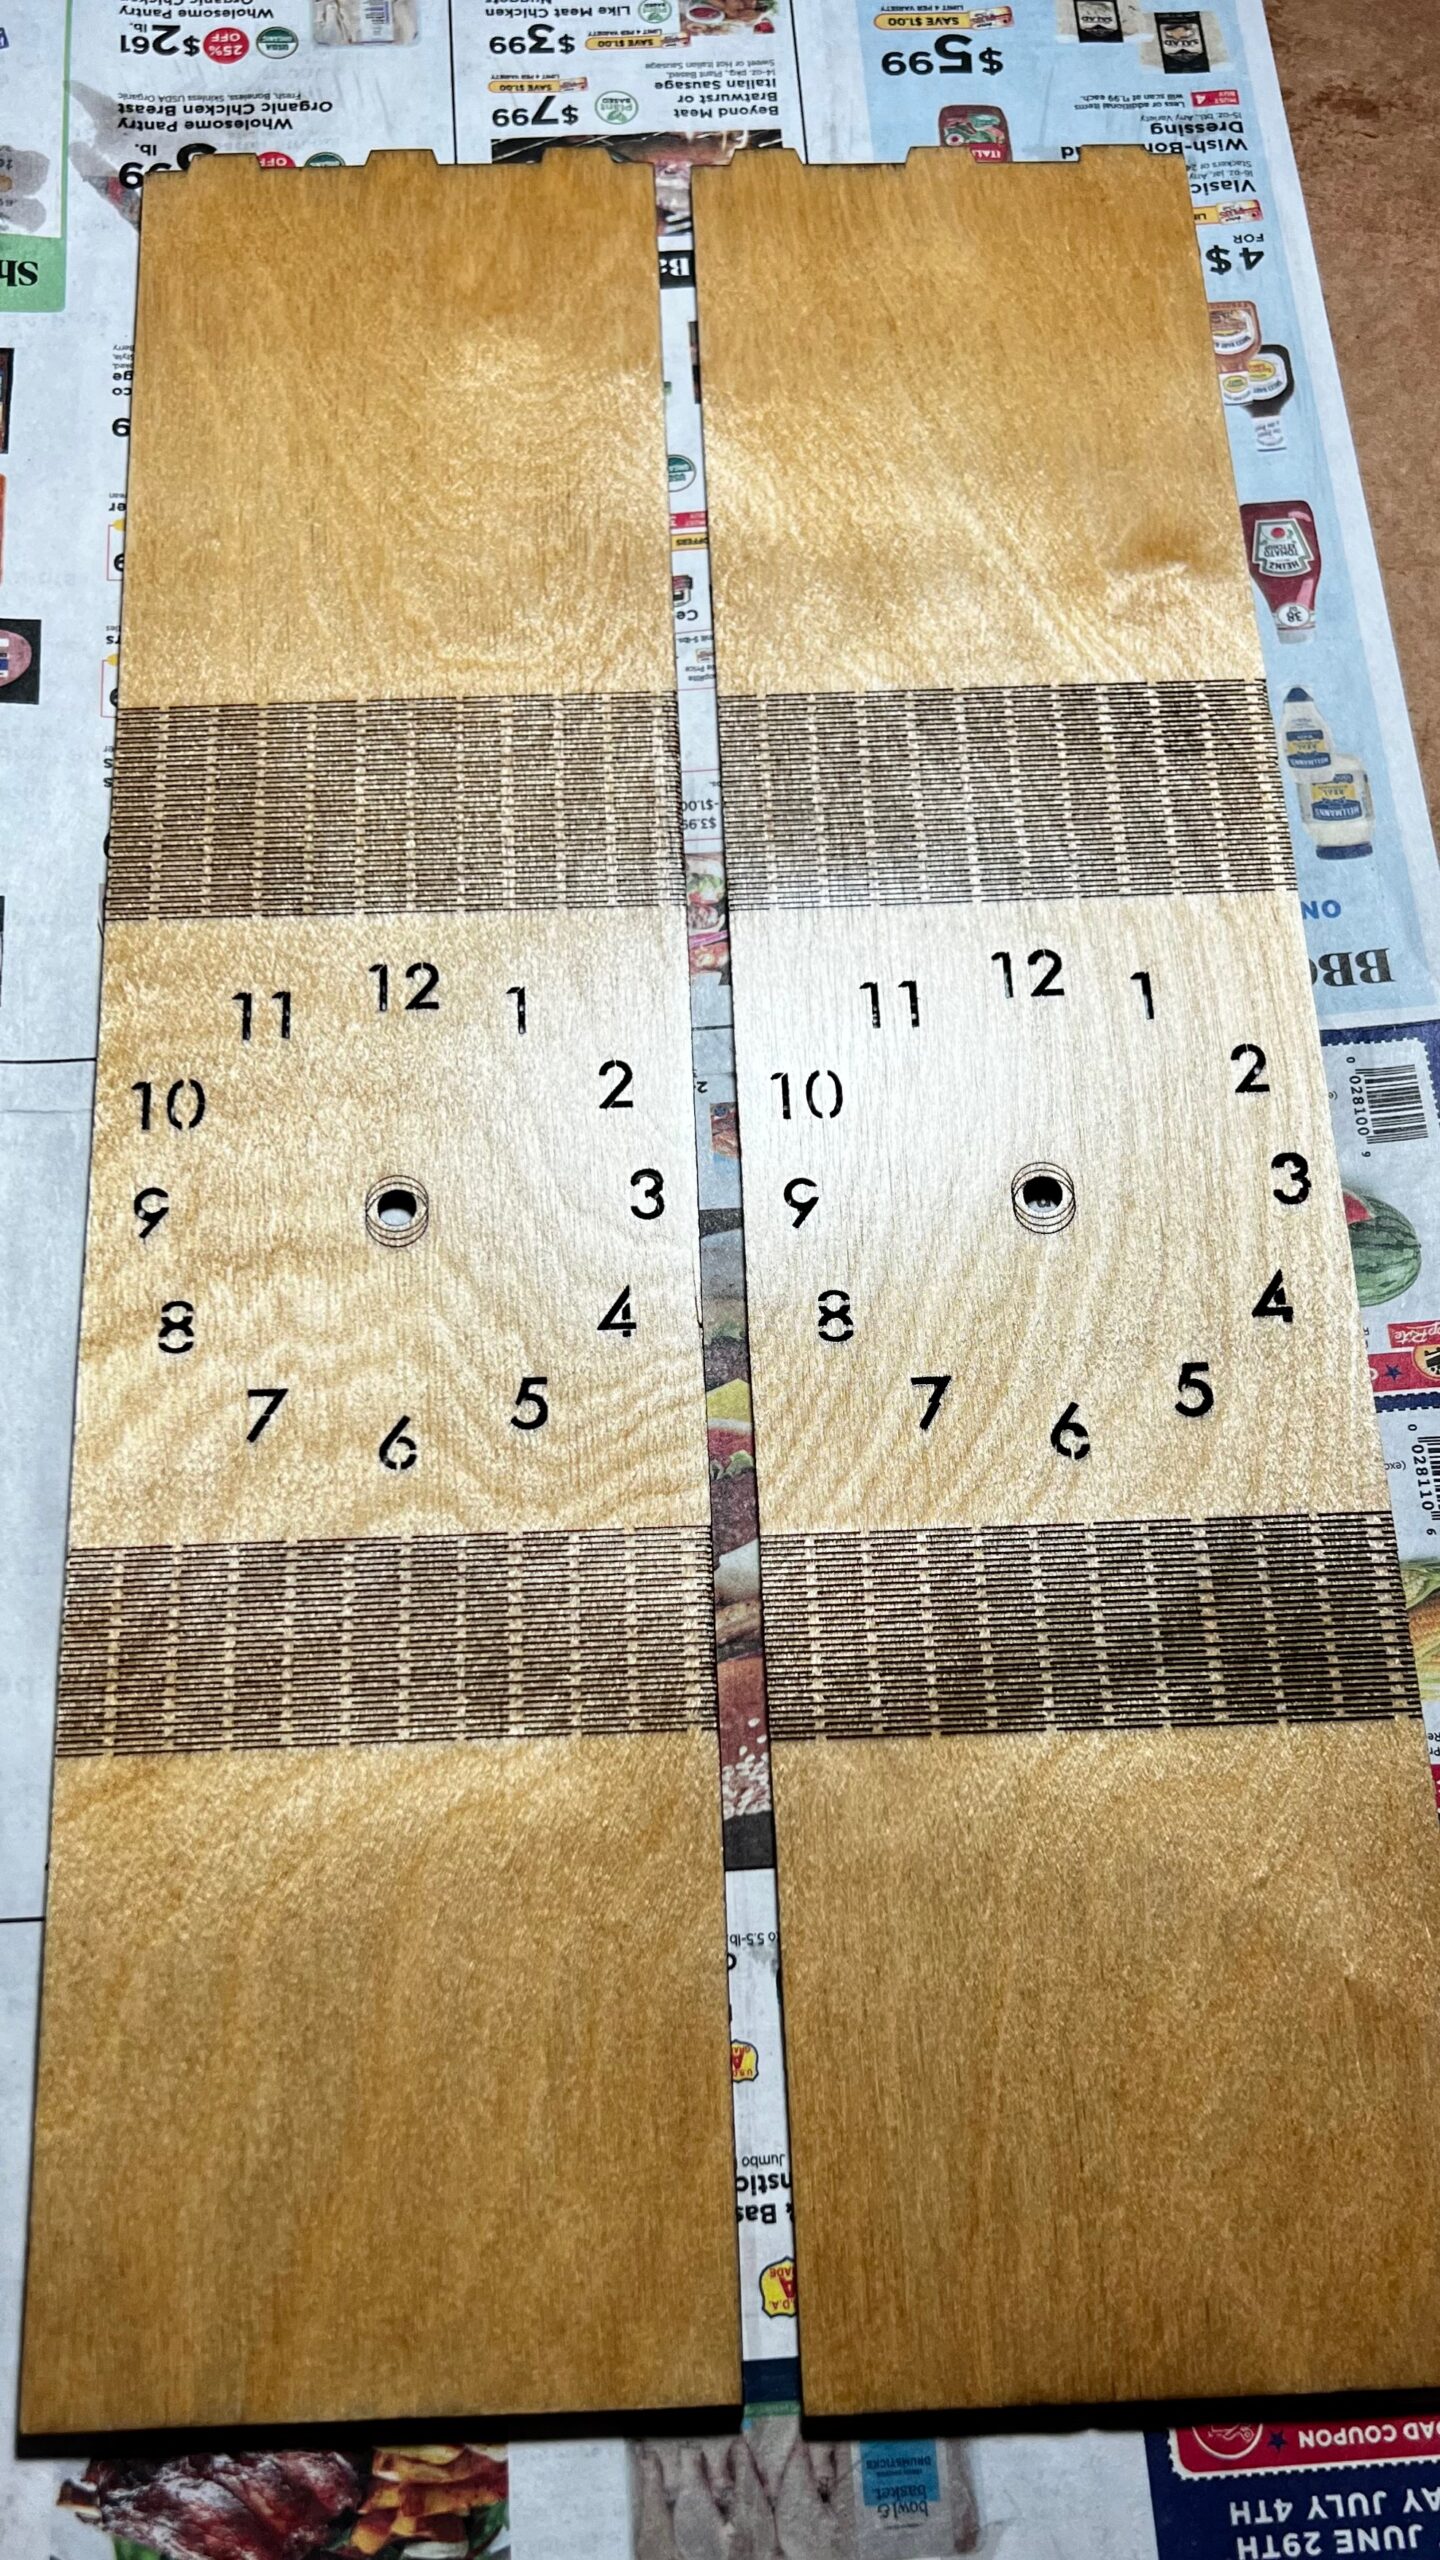
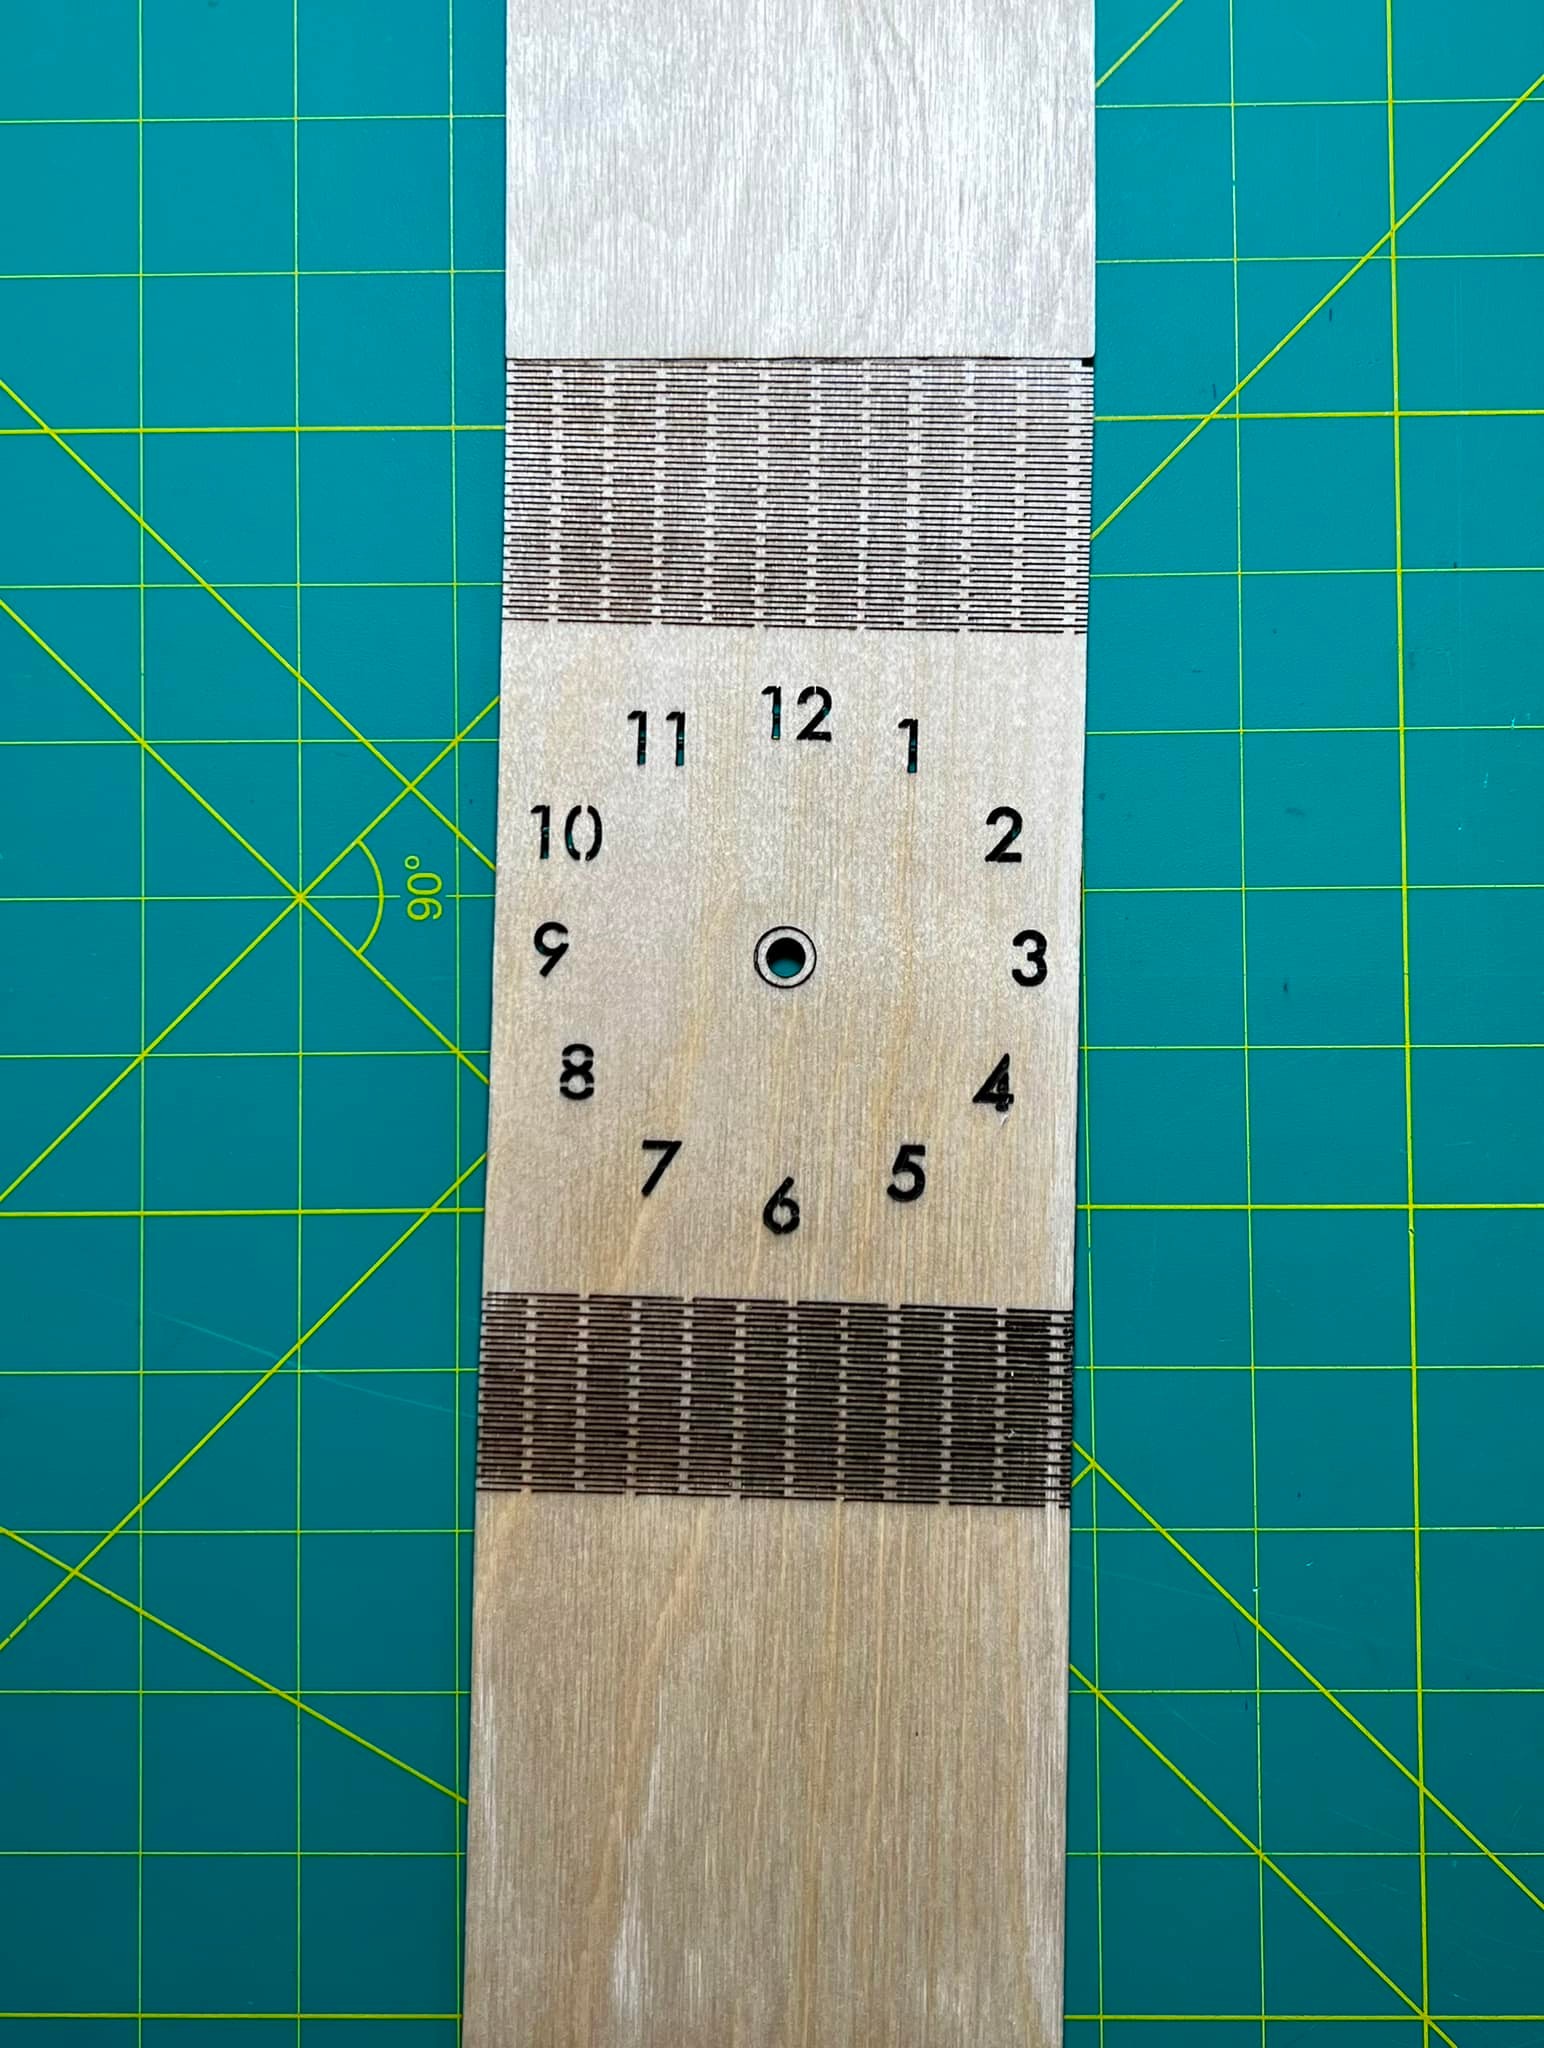
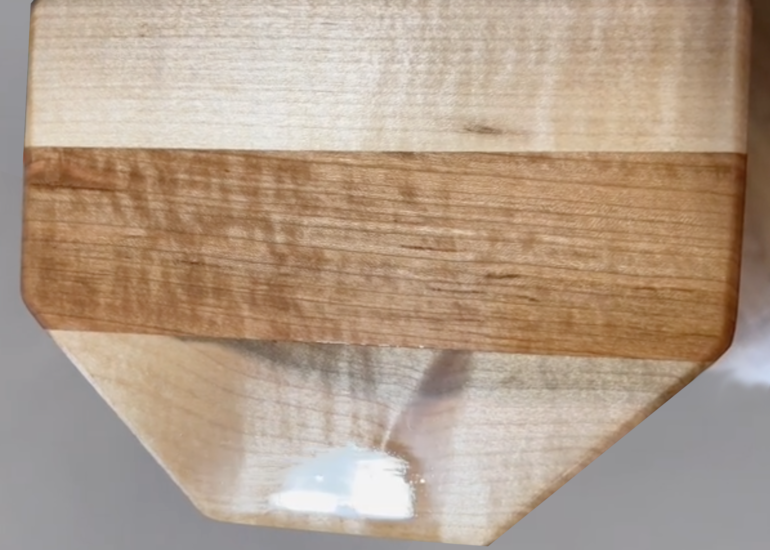
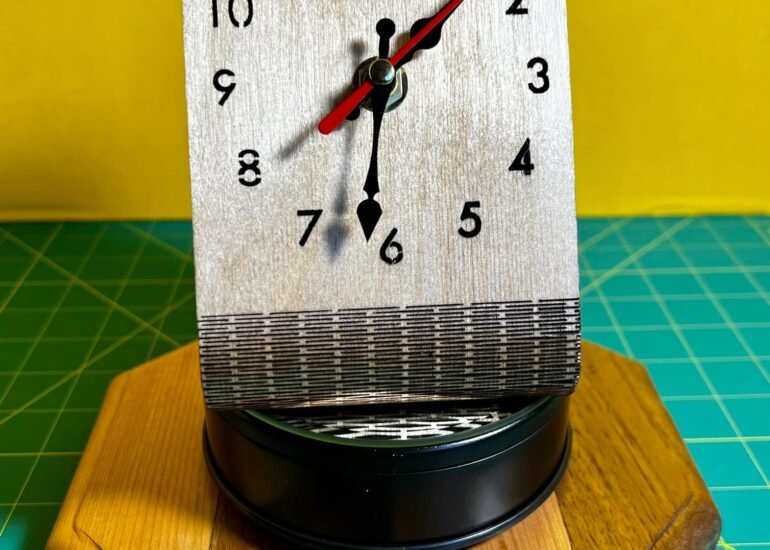
To create a custom-made wooden clock with flexible hinges using a laser engraver, and stained and finished with polyurethane, you can follow these general steps:

  1. Choose the type of wood you would like to use for the clock and cut it into pieces of the appropriate sizes.
  2. Design the clock in a graphic design or CAD software, taking into consideration the clock mechanism, numbers, and hands, and making sure you add the flexible hinges to the design.
  3. Use a laser engraver to cut and engrave the clock pieces according to your design.
  4. Sand the clock to ensure a smooth surface.
  5. Apply the wood stain using a clean brush or cloth, following the manufacturer's instructions.
  6. Allow the stain to dry completely.
  7. Apply one or more coats of polyurethane using a clean brush or cloth, sanding lightly between each coat.
  8. Allow the clock to dry completely between coats.
  9. Install the clock mechanism, numbers, and hands according to the manufacturer's instructions.

Remember to take your time and use caution when working with tools and machines, and to wear appropriate safety gear, such as eye protection and gloves. Creating a custom-made wooden clock with a laser engraver can be an exciting and creative project, and the sleek, precise design of the laser engraver can contribute to an exceptional final product.

Skills

0
  • Wooden Base, stained and finished with polyurethane

    Laser Engraving , Woodworking

    View Project
  • Custom made clock with flexible live hinges

    Laser Engraving , Woodworking

    View Project
  • Custom-made Oak Tostonera for a good friend of mine.

    Laser Engraving , Woodworking

    View Project
  • Custom made Beer Caddy with my Laser Engraver

    Laser Engraving , Woodworking

    View Project