You can enable/disable right clicking from Theme Options and customize this message too.

Custom made Beer Caddy with my Laser Engraver

Project Description

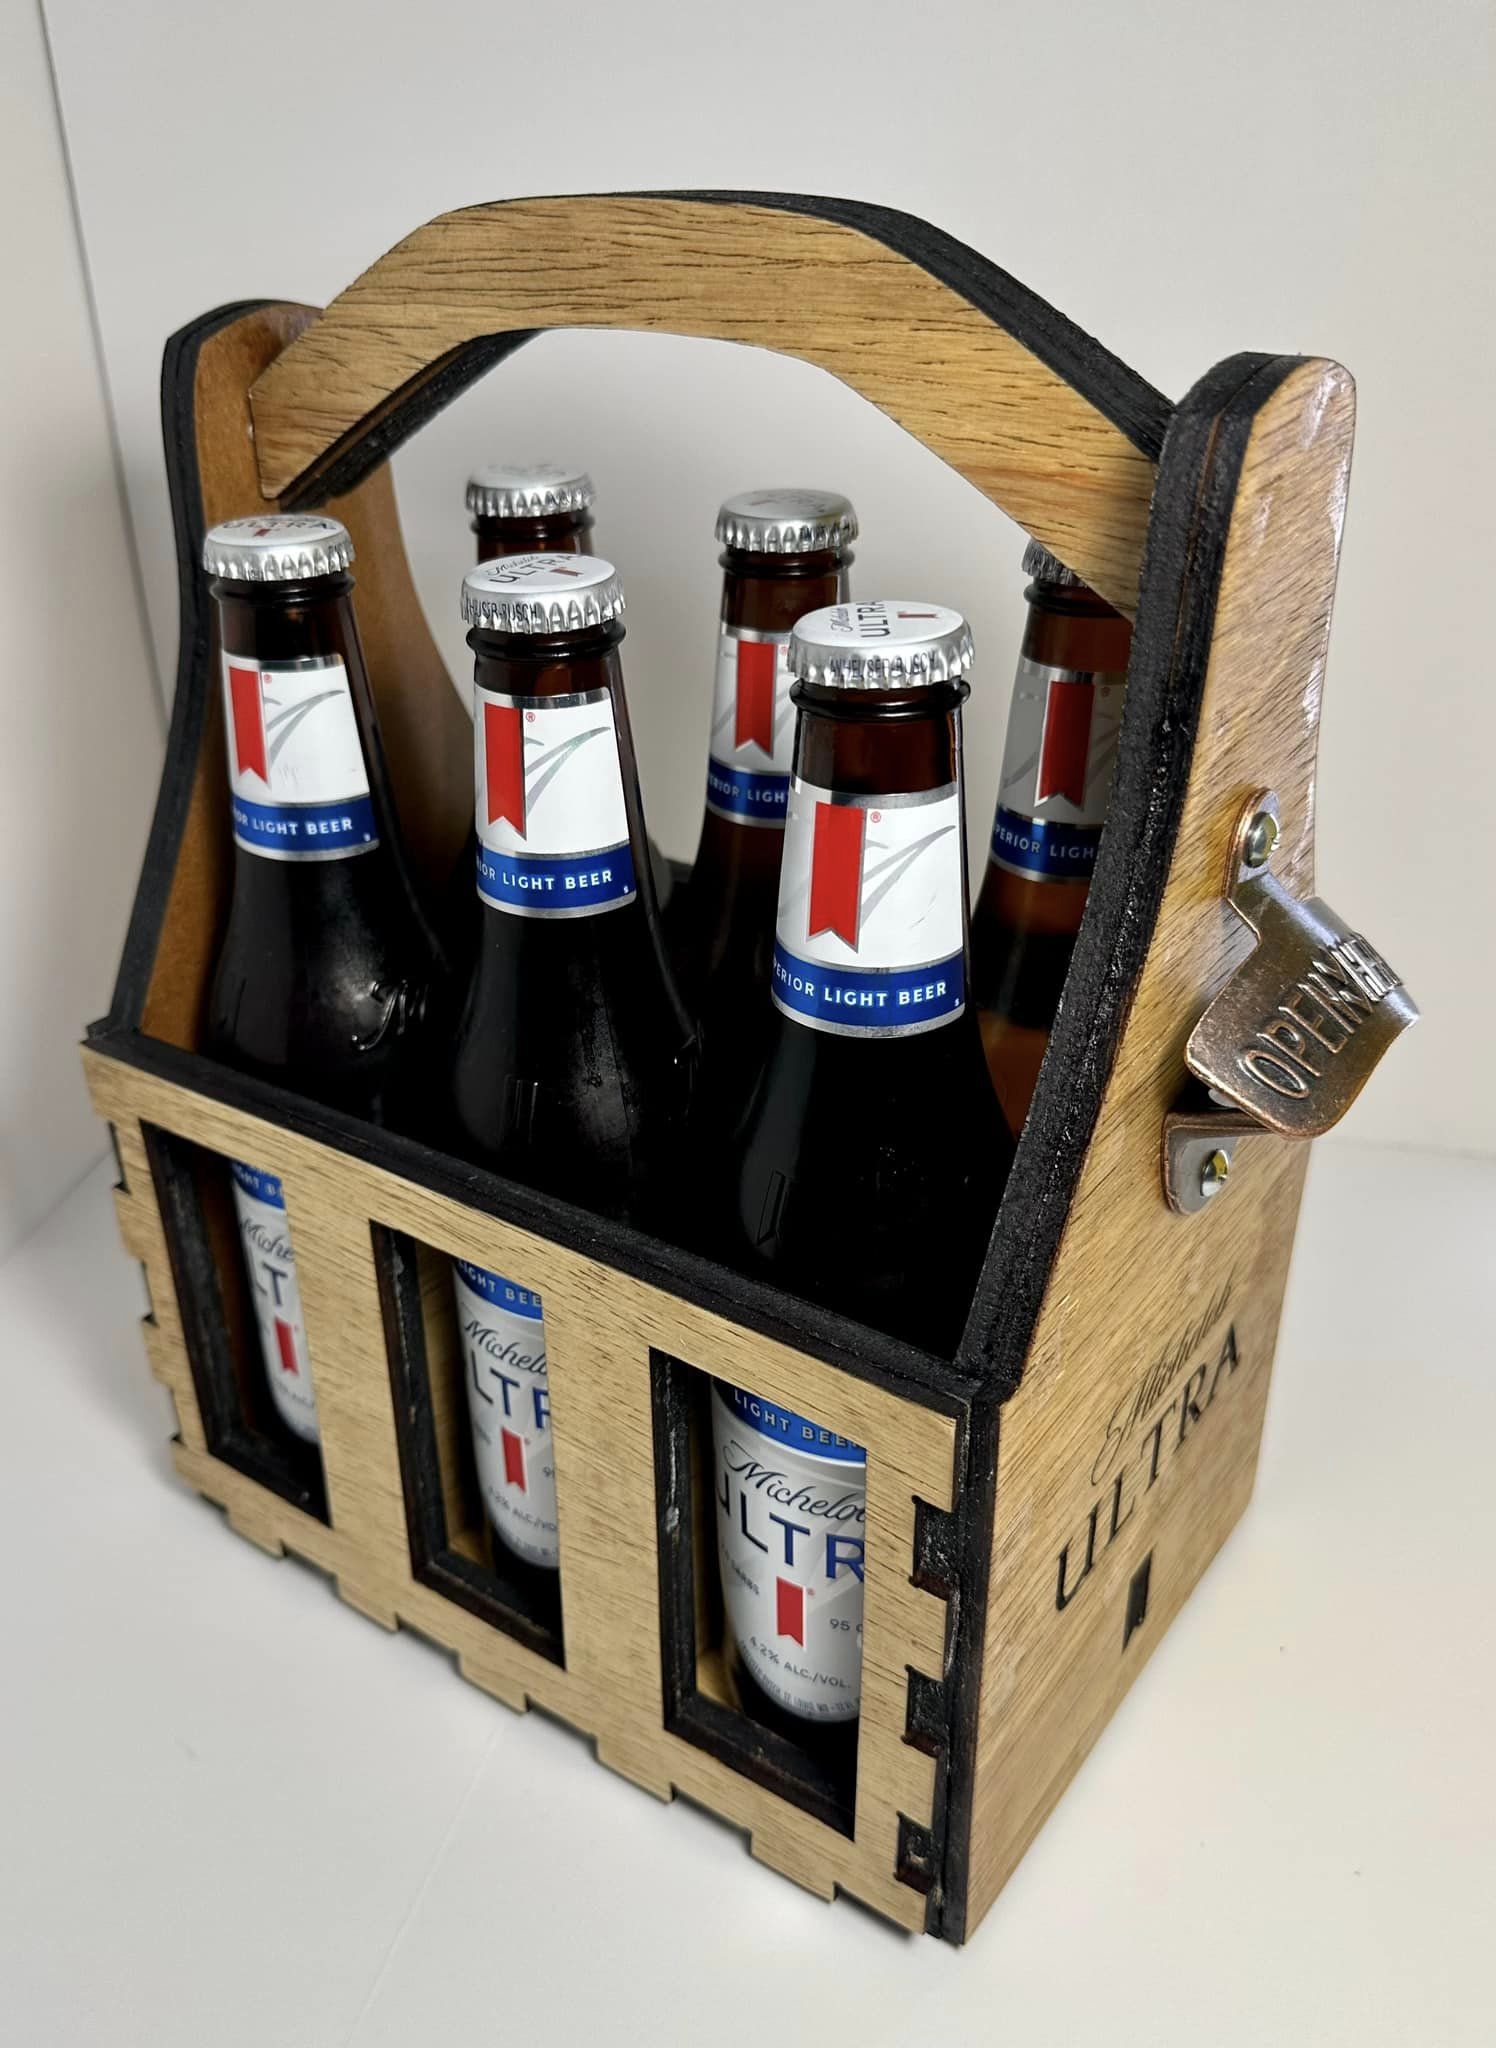
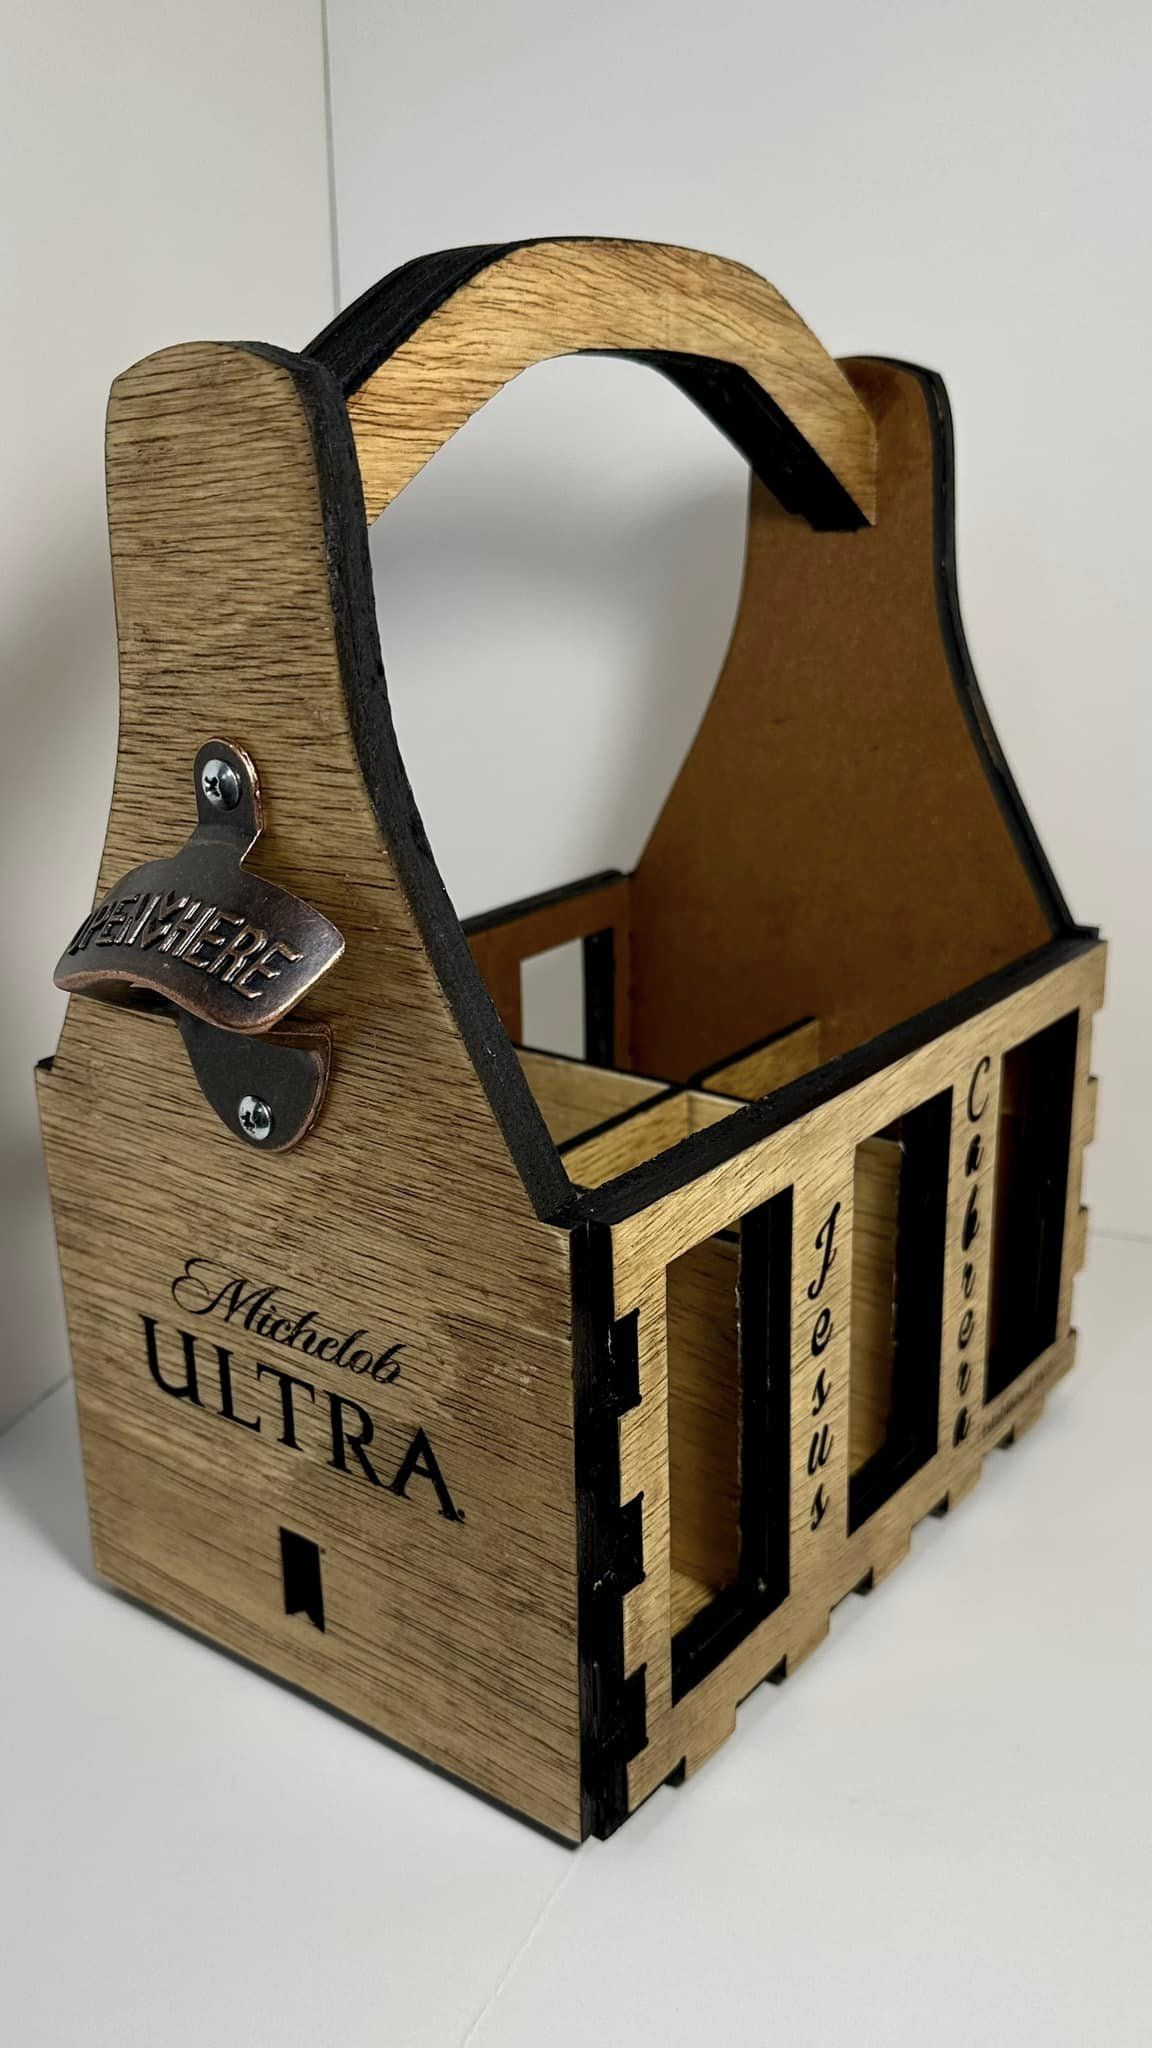
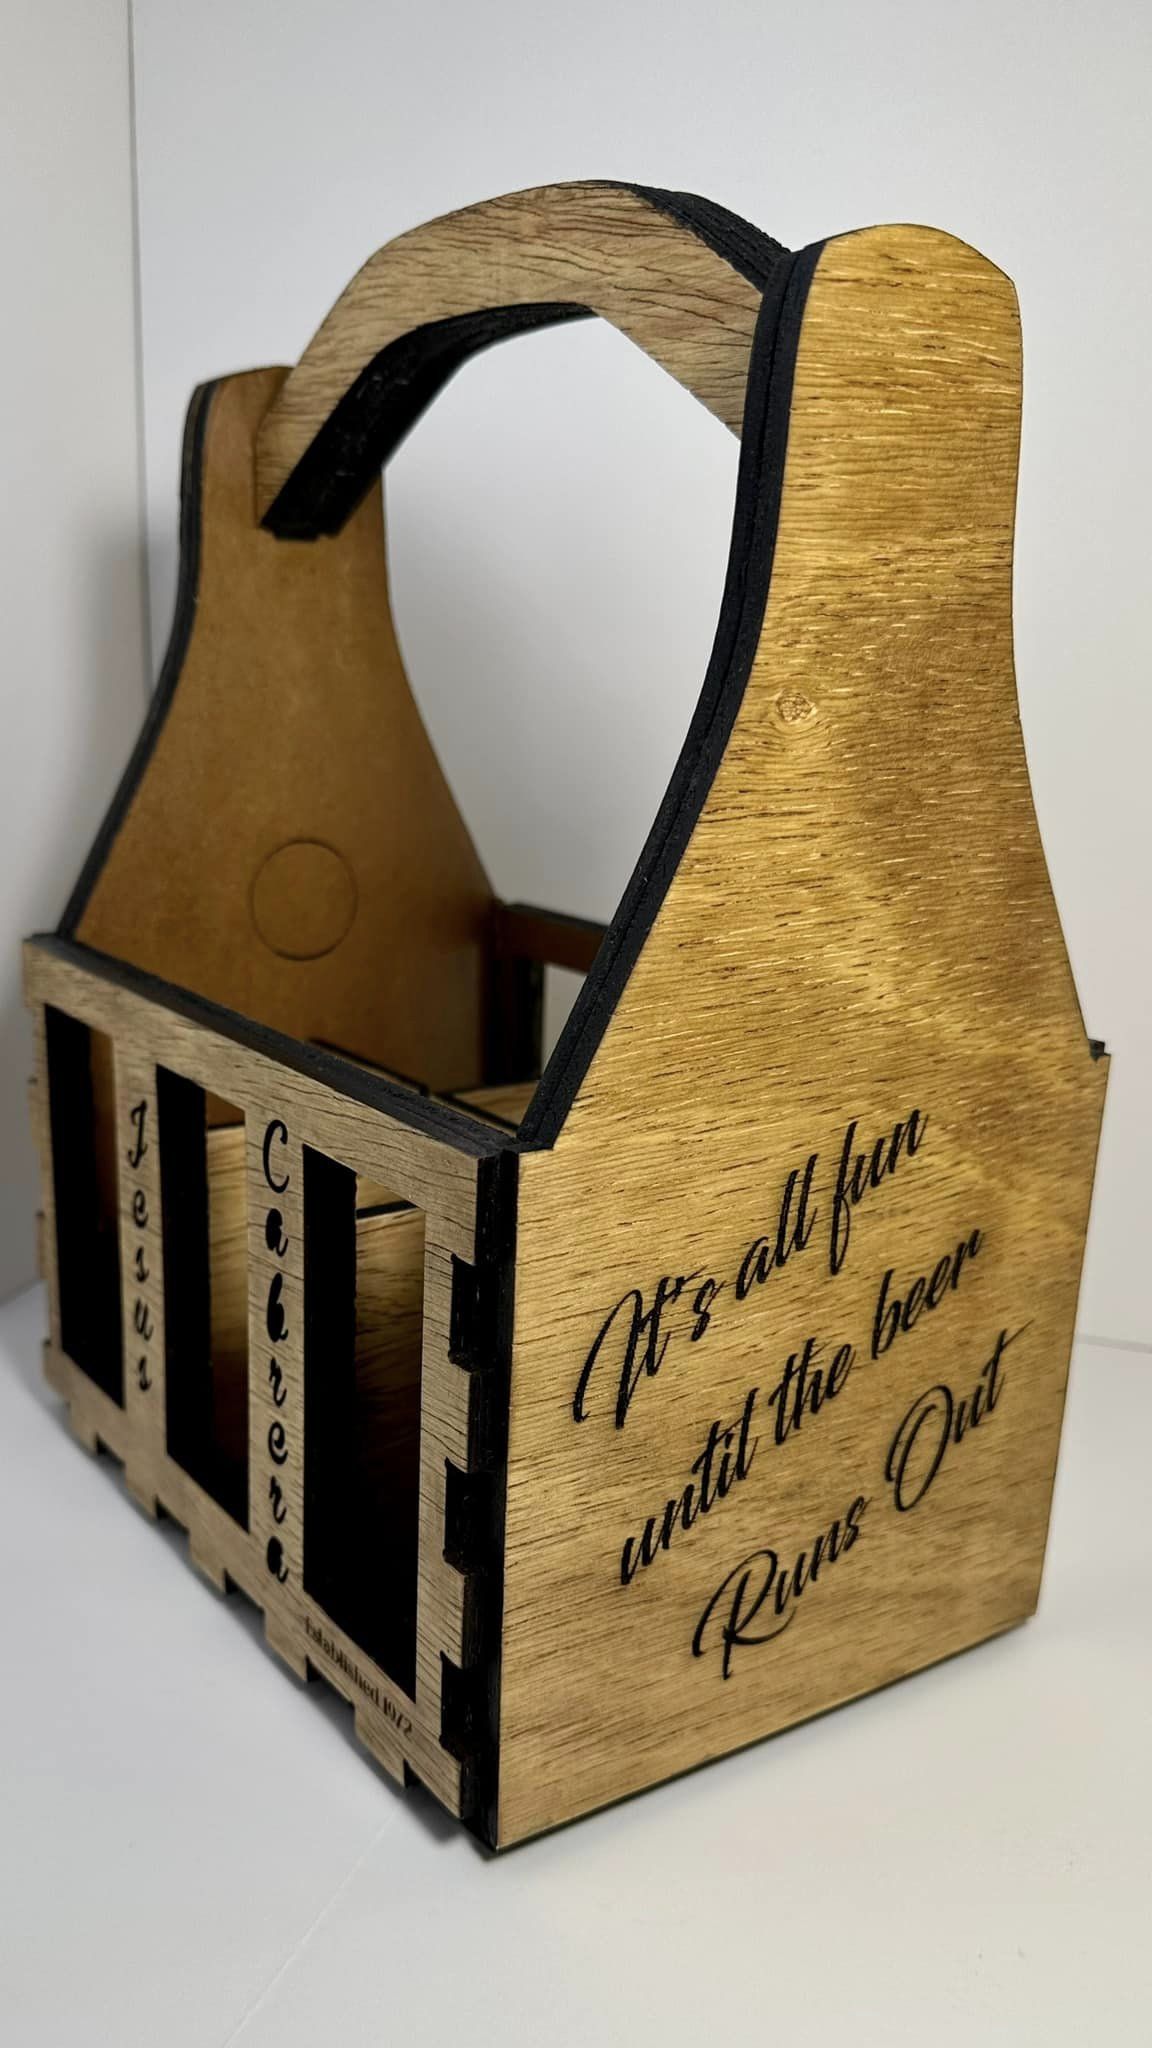
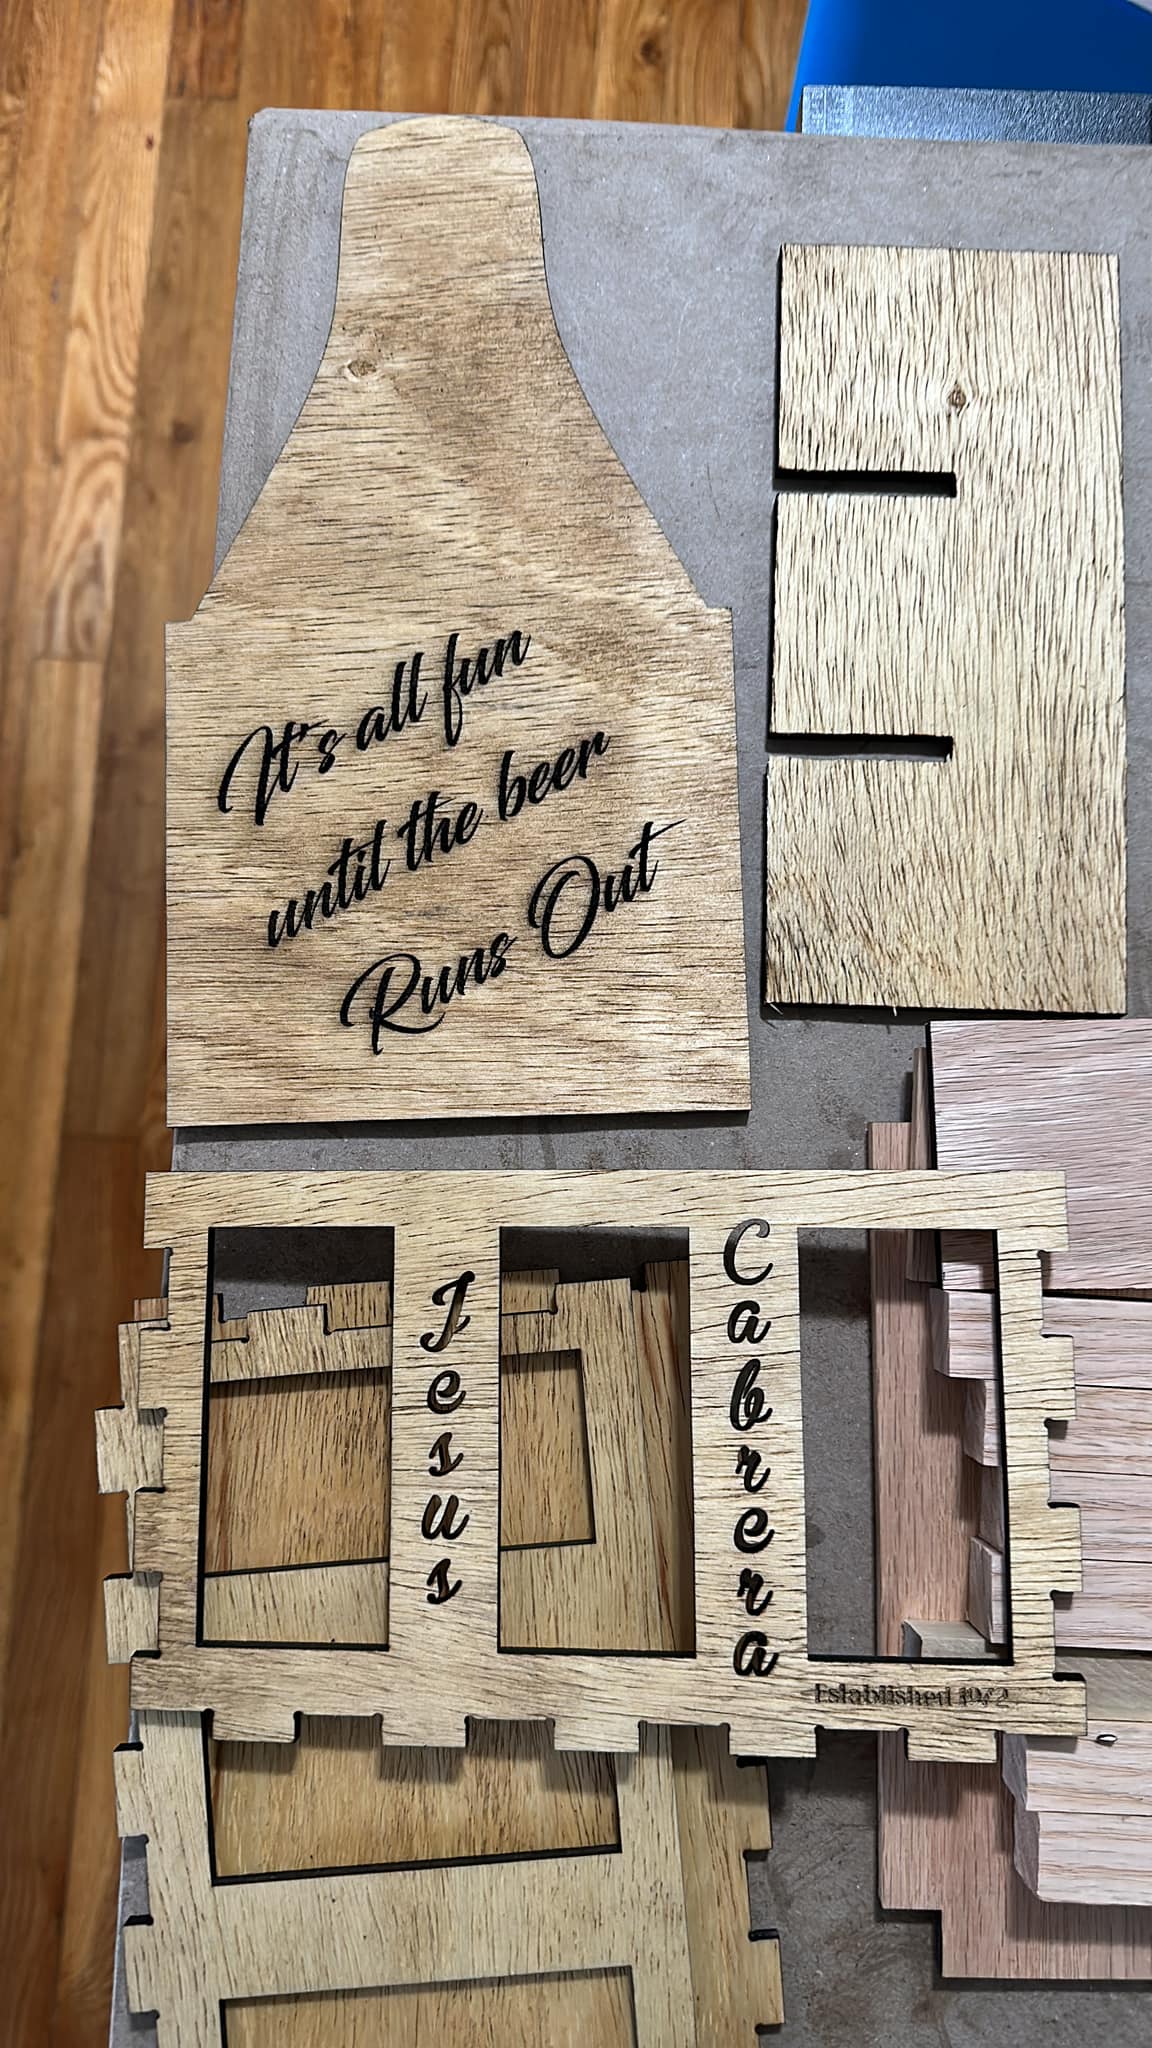
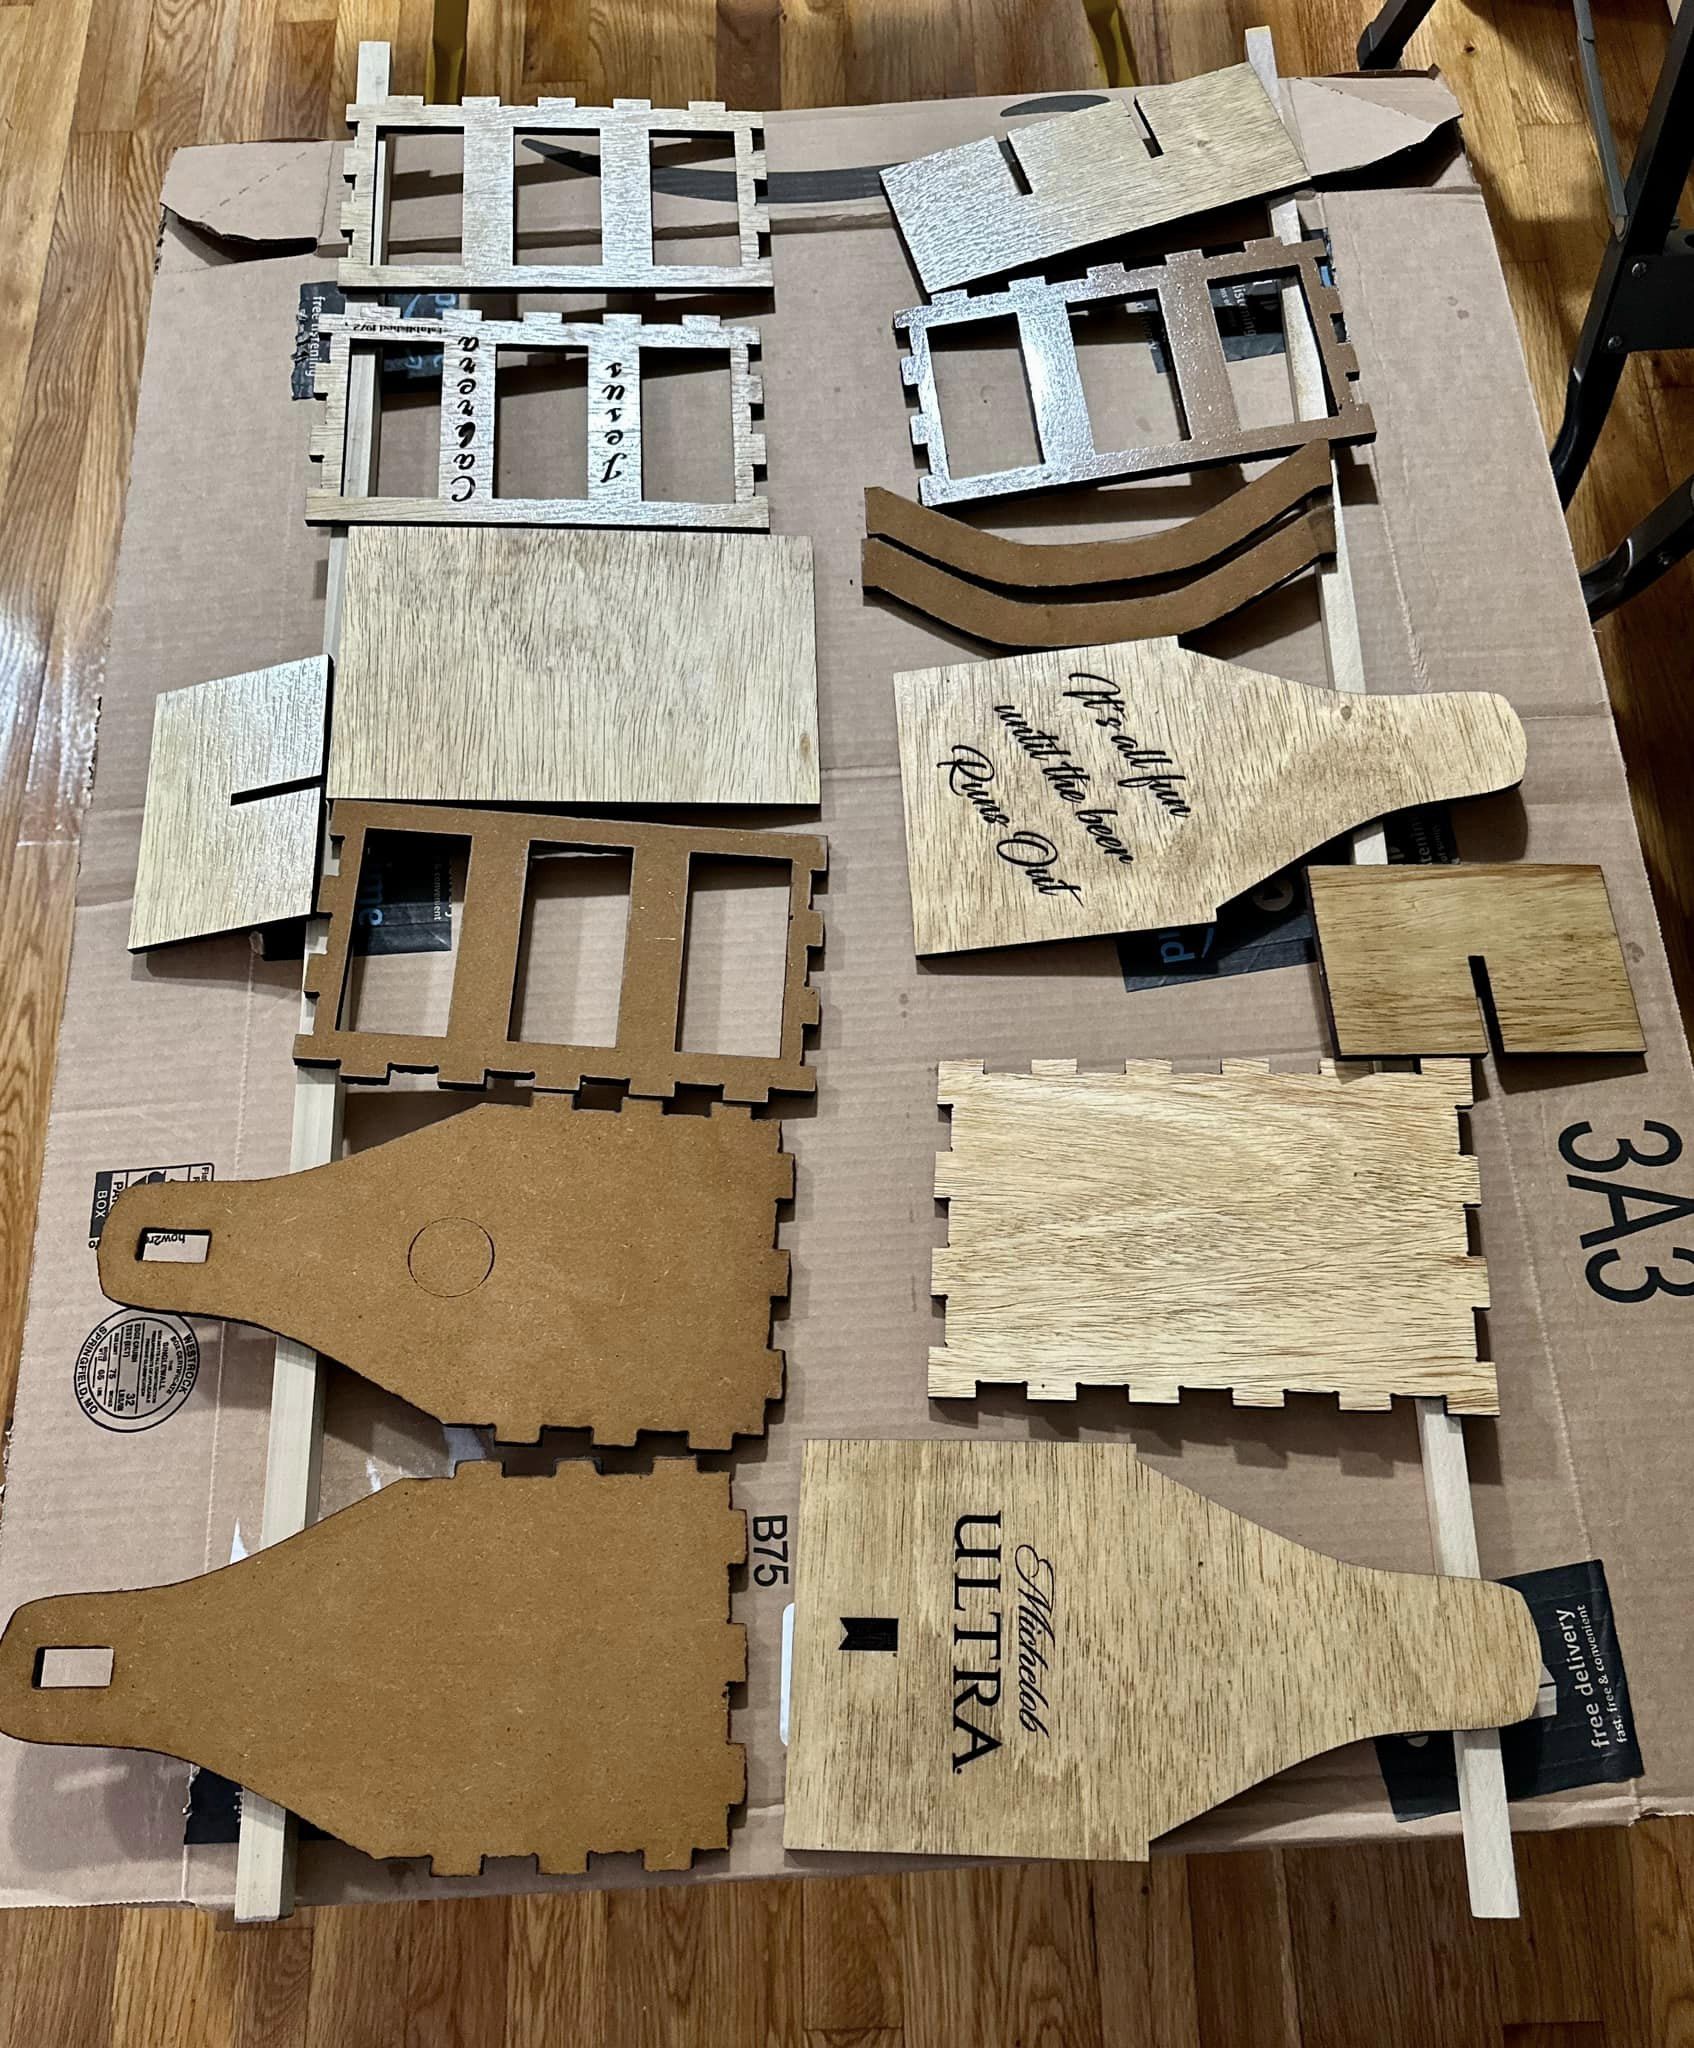
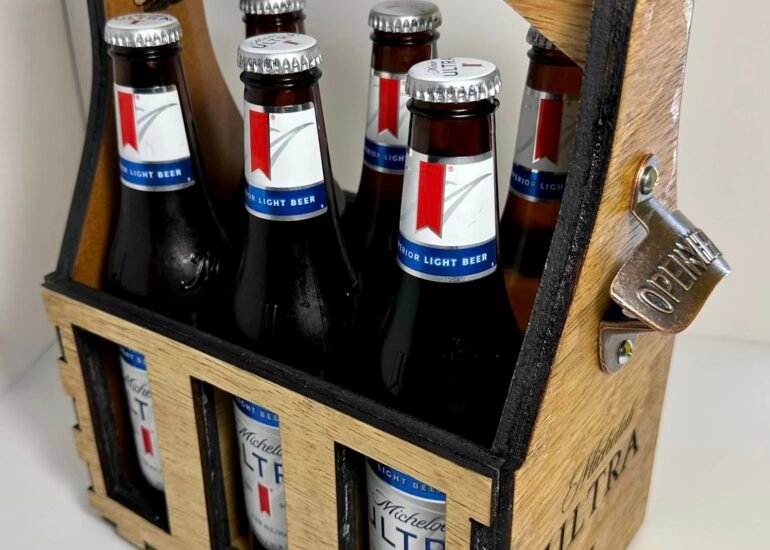
To make a beer caddy with a laser engraver, stained, and finished with polyurethane, you can follow these general steps:

  1. Choose the type of wood you would like to use for the beer caddy and cut it into pieces of the appropriate sizes.
  2. Design the beer caddy in a graphic design or CAD software, taking into consideration the size of the bottles and any desired design elements, such as handles or dividers.
  3. Use a laser engraver to cut and engrave the beer caddy pieces according to your design.
  4. Sand the beer caddy to ensure a smooth surface.
  5. Apply the wood stain using a clean brush or cloth, following the manufacturer's instructions.
  6. Allow the stain to dry completely.
  7. Apply one or more coats of polyurethane using a clean brush or cloth, sanding lightly between each coat.
  8. Allow the beer caddy to dry completely between coats.
  9. Assemble the beer caddy according to your design using nails or wood glue where necessary.

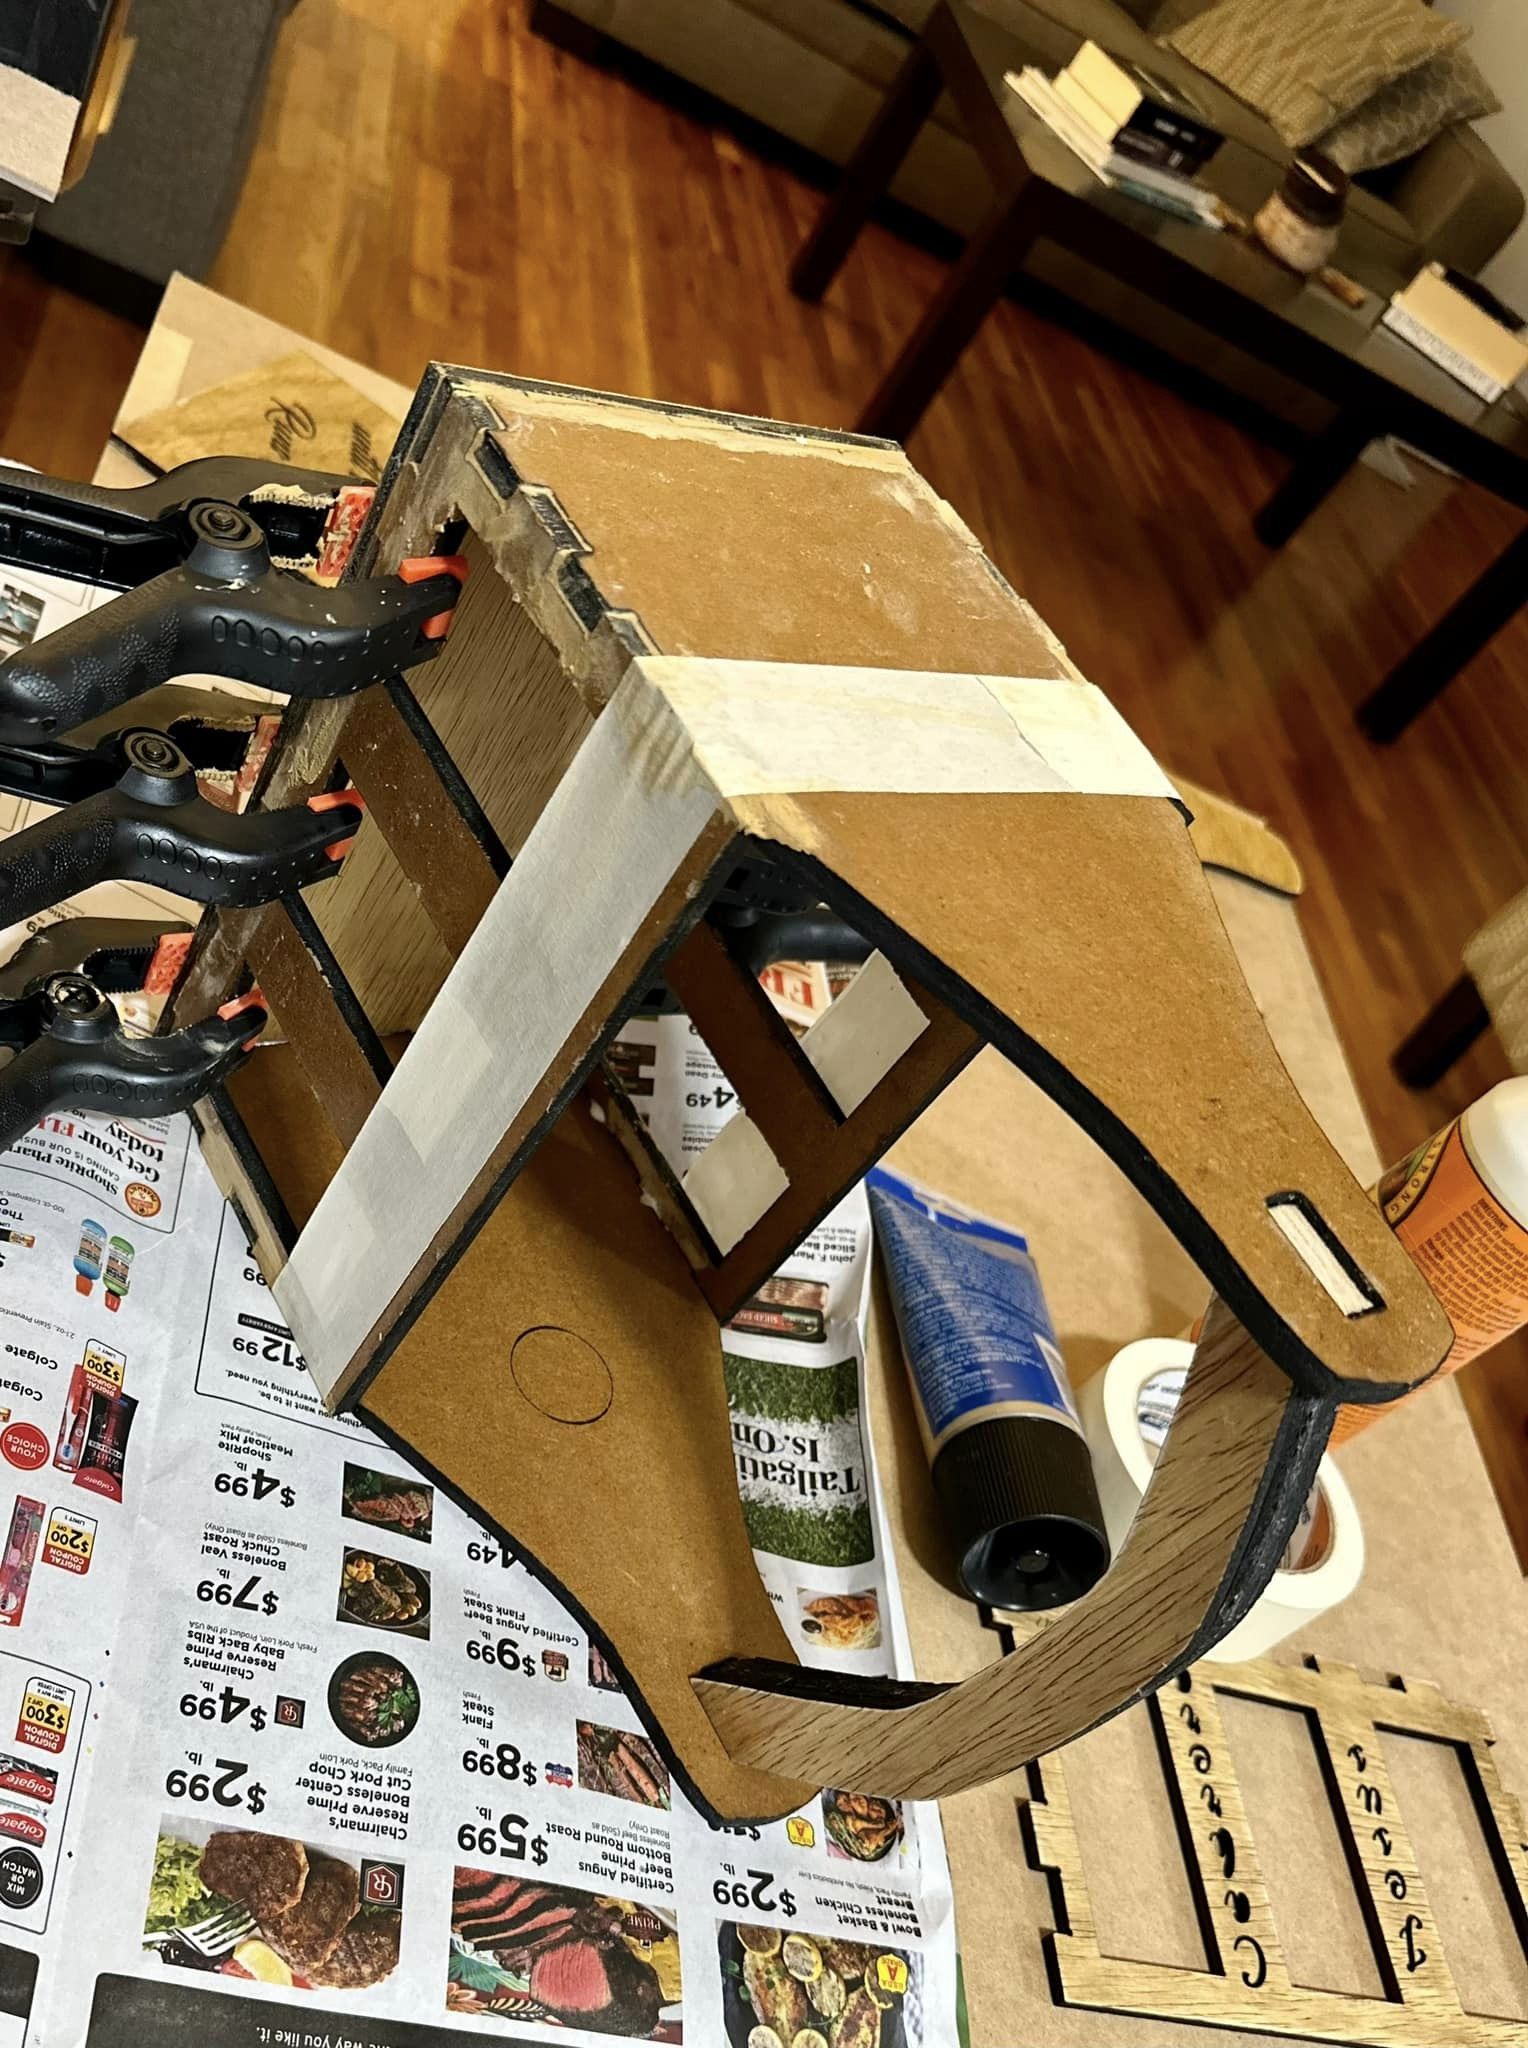
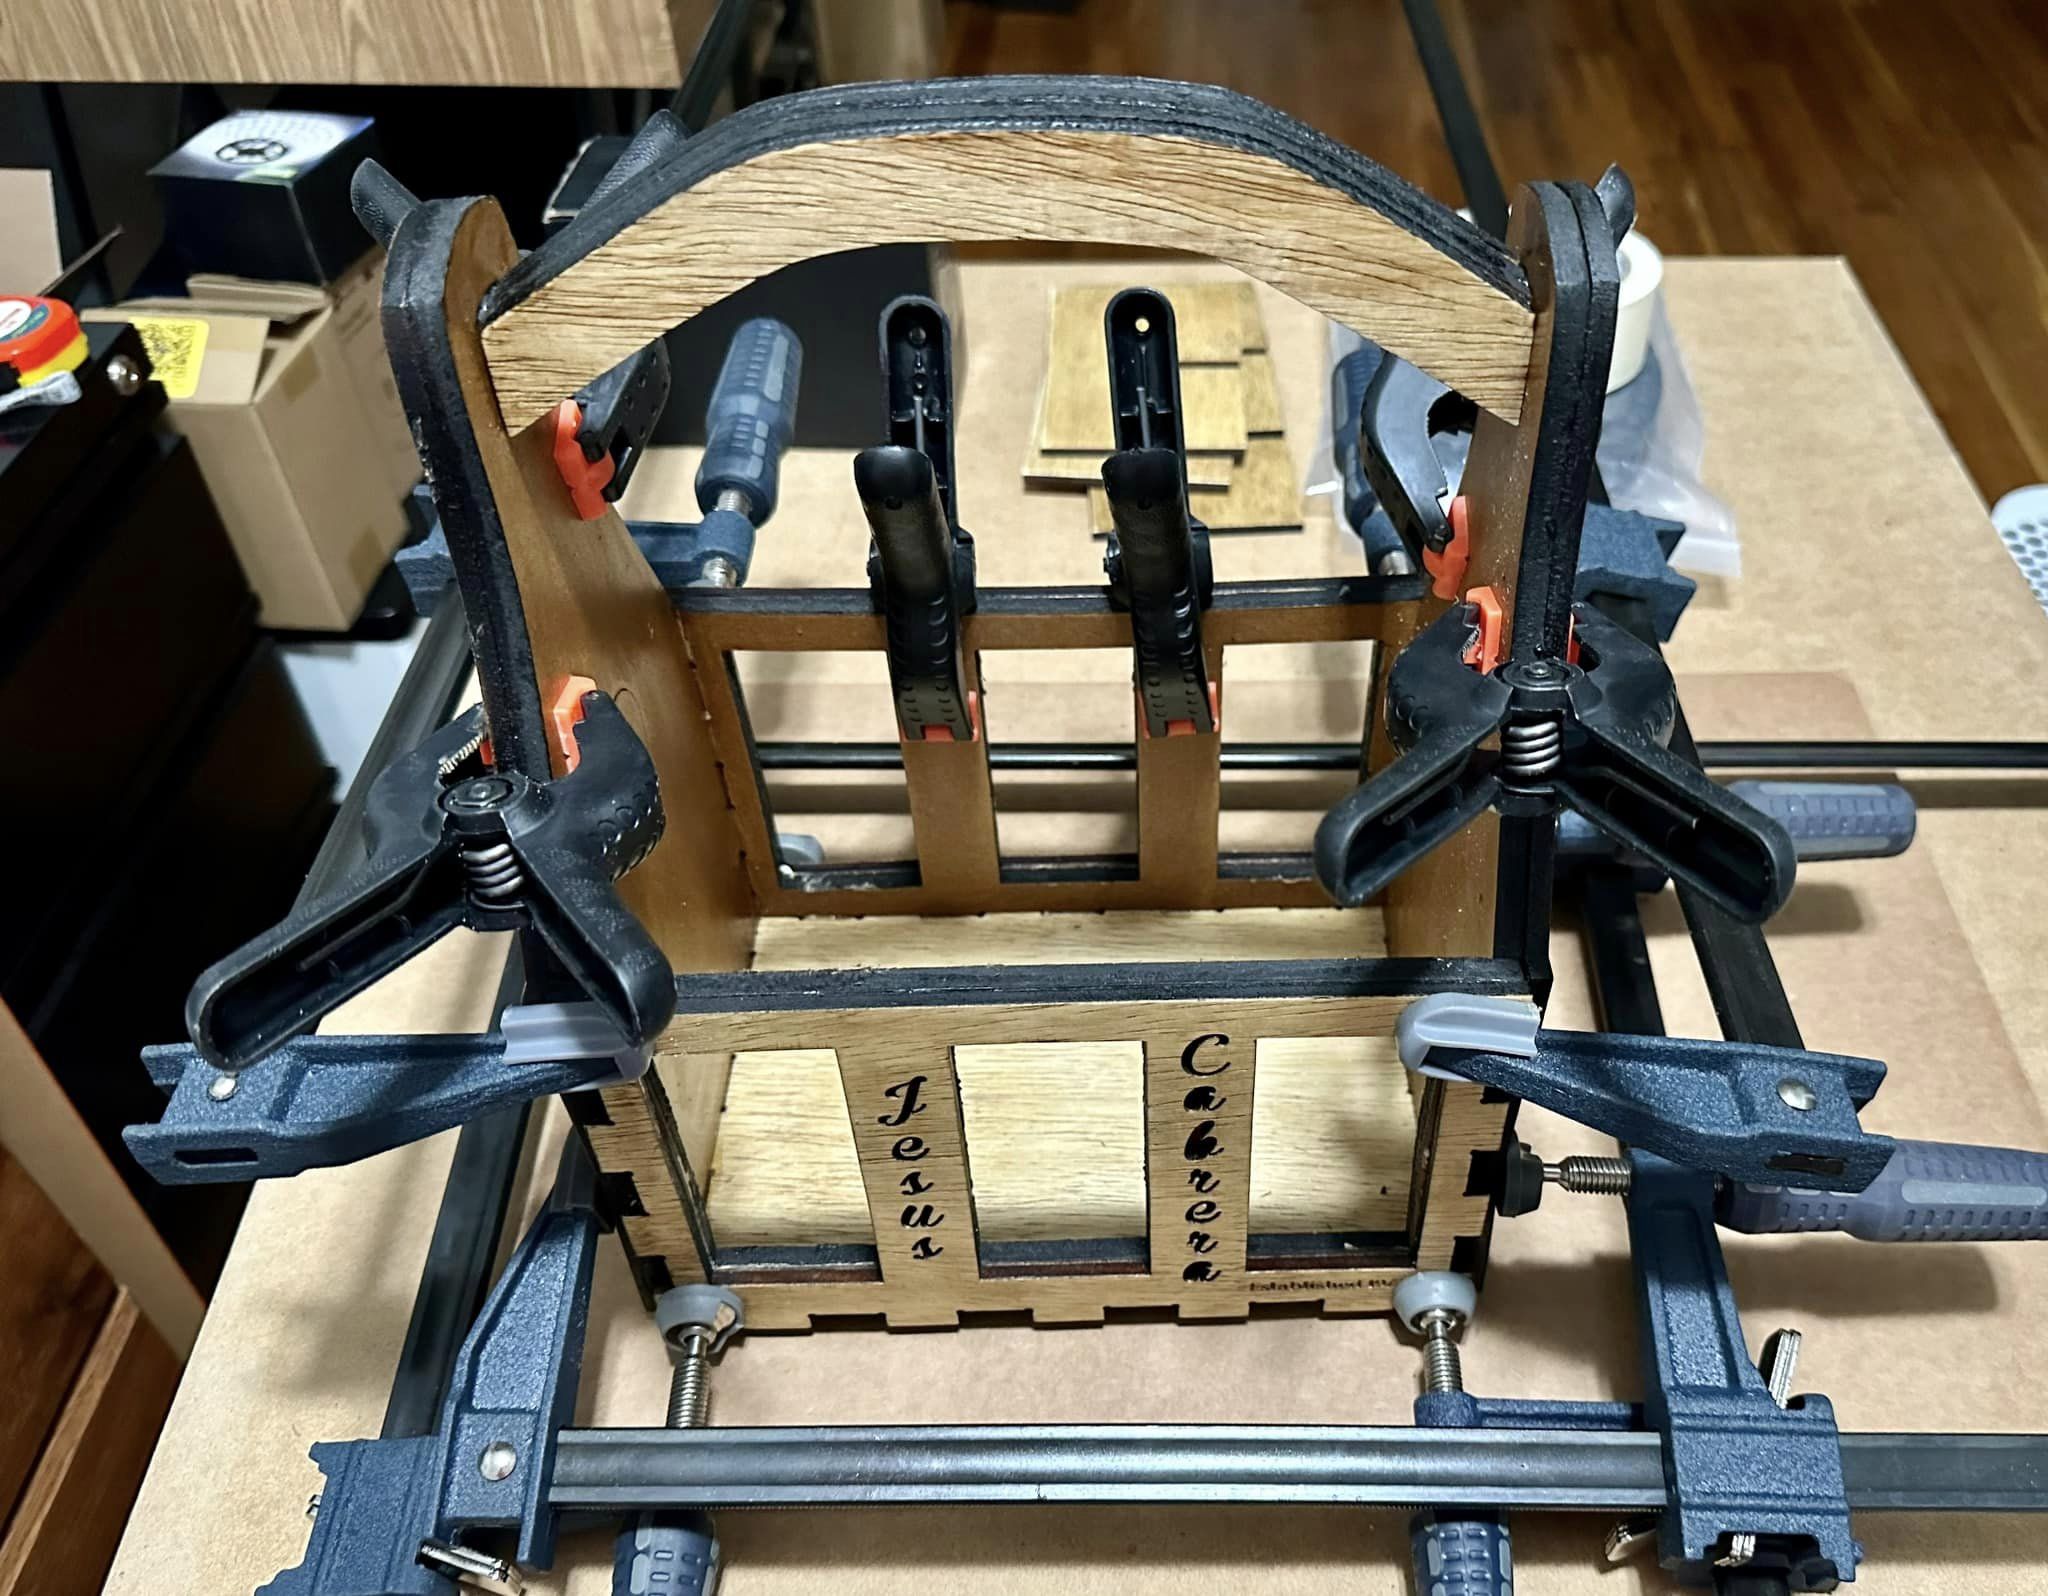
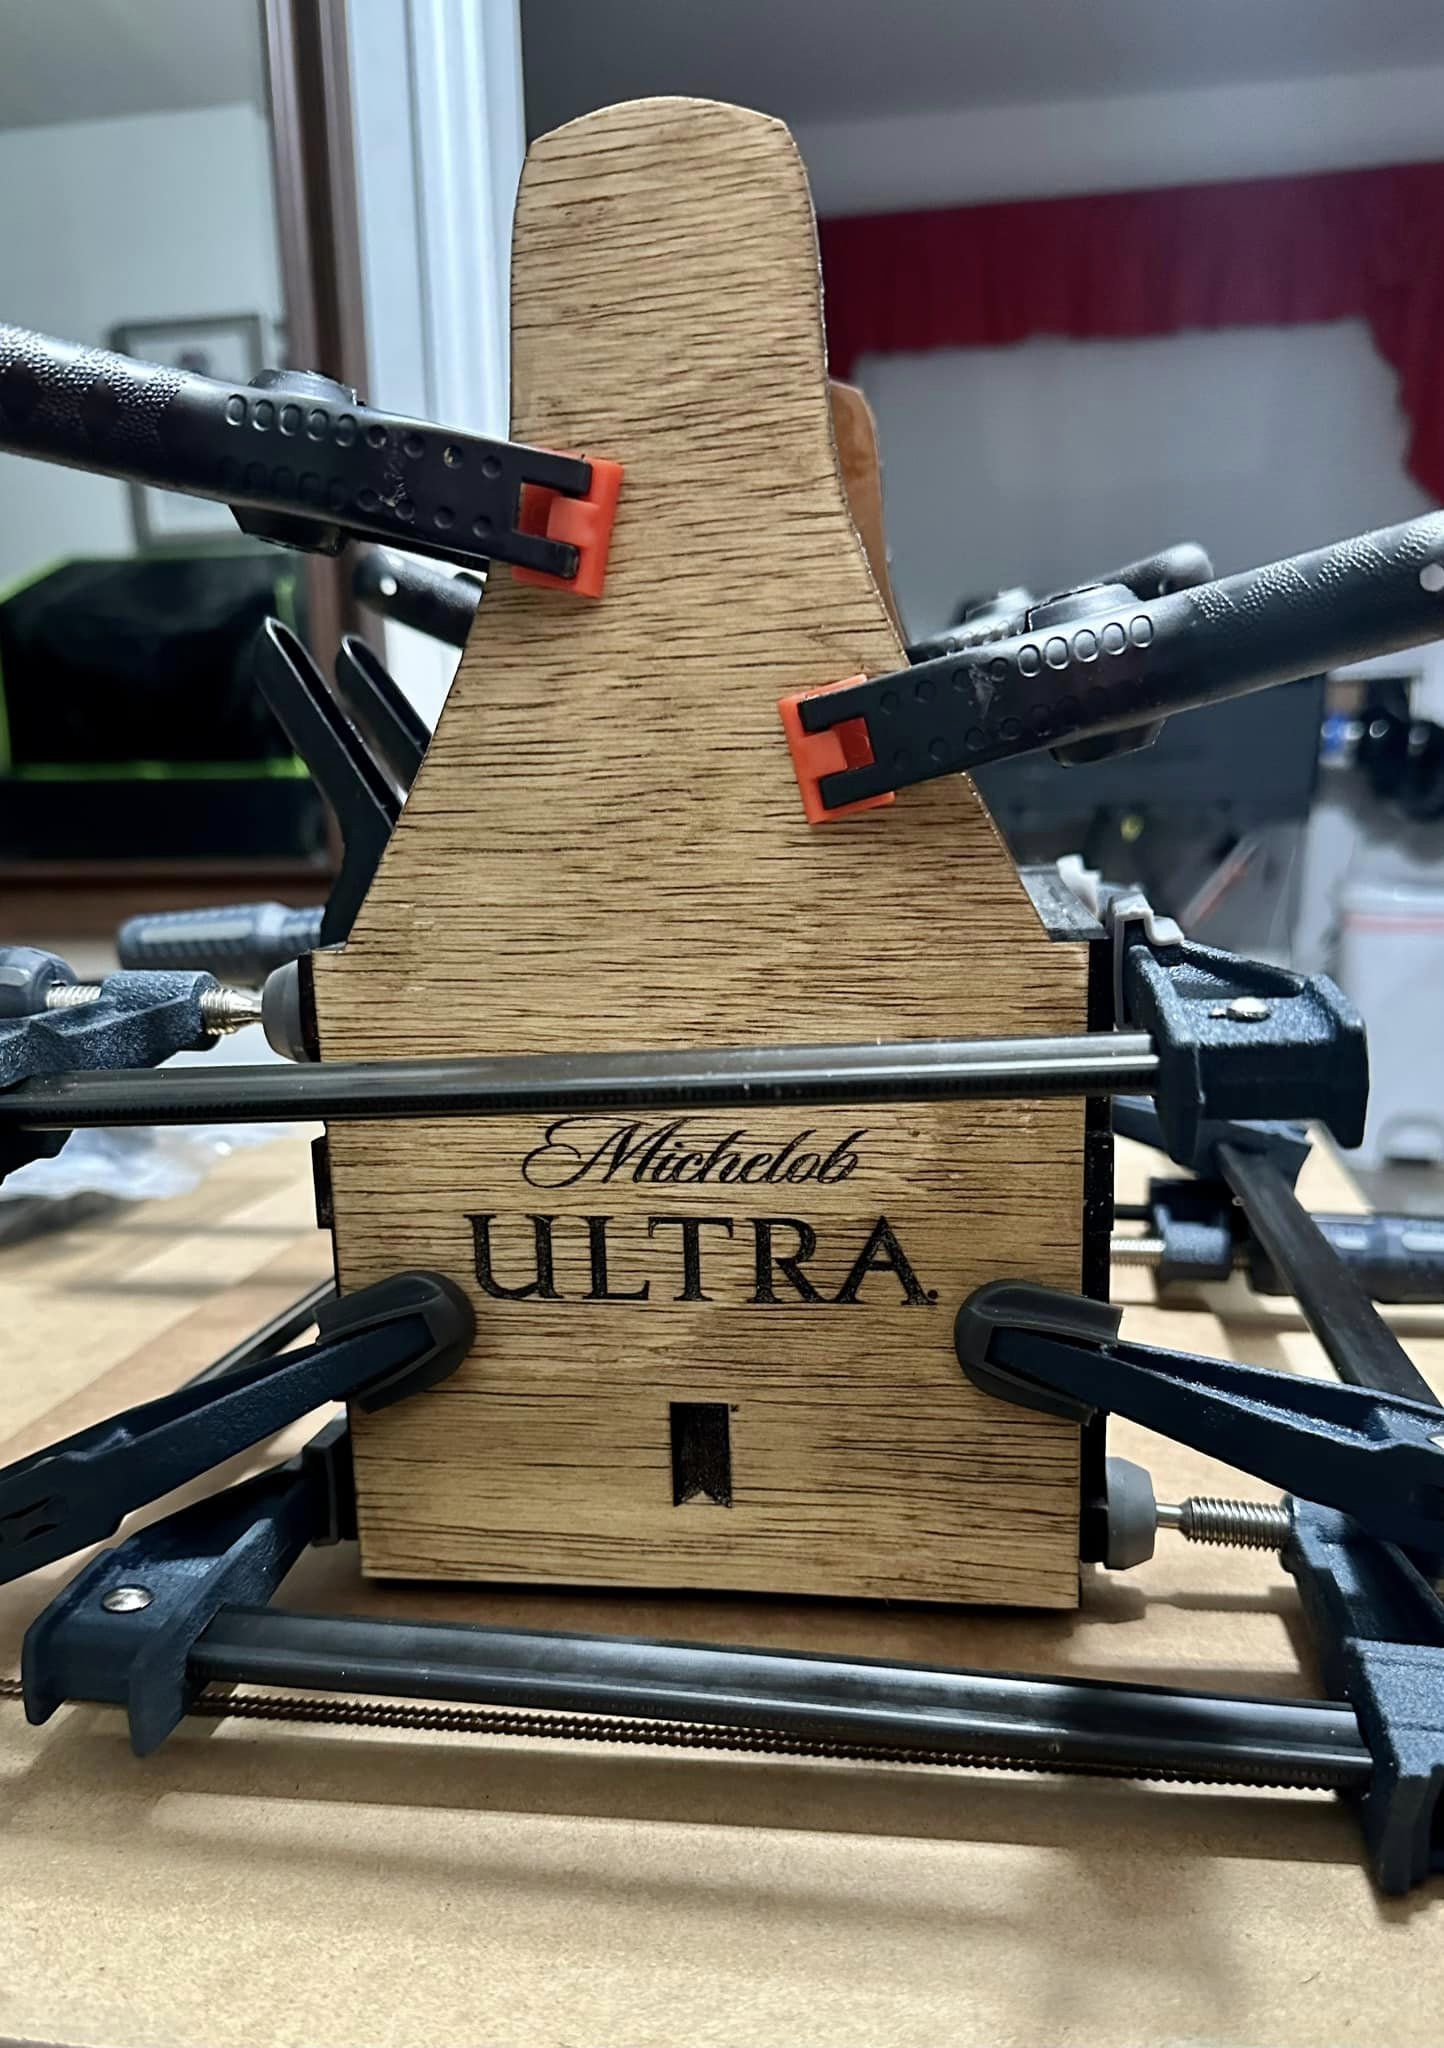
Remember to take your time and use caution when working with tools and machines, and to wear appropriate safety gear, such as eye protection and gloves. With careful planning and execution, creating a custom-made beer caddy with a laser engraver, stained, and finished with polyurethane can be a fun and rewarding project.

Skills

0
  • Wooden Base, stained and finished with polyurethane

    Laser Engraving , Woodworking

    View Project
  • Custom made clock with flexible live hinges

    Laser Engraving , Woodworking

    View Project
  • Custom-made Oak Tostonera for a good friend of mine.

    Laser Engraving , Woodworking

    View Project
  • Custom made Beer Caddy with my Laser Engraver

    Laser Engraving , Woodworking

    View Project